What does a complete commercial interior branding project involve from start to finish?
A complete commercial interior branding project moves through six core phases: discovery, site audit, concept design, fabrication planning, production, and installation. In plain terms, it starts with figuring out what your space needs to do, then turns that strategy into branded environments like lobbies, conference rooms, hallways, briefing centers, and shared spaces that actually feel connected.
The best projects do more than add a logo to a wall. They shape how people experience your brand in person. That means balancing visual impact with real-world constraints like budget, timelines, building rules, materials, durability, and how much disruption your team can tolerate while the space is being updated. It is the same discipline that drives strong commercial interior fabrication at every scale, from a single reception area to a full multi-floor rollout.
If you are wondering what the process really looks like, here is the no-fluff version.
Step 1: Discovery starts before anyone talks about materials
Every strong interior branding project begins with questions, not renderings.
Before design starts, the project team needs to understand what the space is for, who uses it, and what your brand should communicate the second someone walks in. A corporate lobby has a different job than a conference room. A recruiting hallway has a different purpose than an executive briefing center. Good branding reflects that.
At this stage, the conversation usually covers:
- Brand standards and messaging
- Audience types, such as employees, clients, prospects, and recruits
- Priority spaces
- Budget range
- Schedule and install deadlines
- Building restrictions, landlord rules, or security requirements
- Existing finishes, furniture, and architectural features worth keeping
This phase matters because it keeps the project from turning into disconnected decor. The goal is a system, not random branded moments. That system thinking is what separates a strong office environmental branding strategy from a collection of one-off design decisions that never quite feel like the same brand.
Step 2: A site survey tells you what is actually possible
This is where a lot of projects either get smarter or get expensive.
A site survey helps uncover the conditions that shape the entire job. Wall types, ceiling heights, power access, lighting, elevator access, install windows, material limitations, fire code concerns, and surface conditions all affect what can be built and how it gets installed.
For example, a concept that looks clean in a rendering may need to change fast if the wall cannot support the weight, the hallway is too narrow for large pieces, or the building only allows overnight installation.
This is also where project scope sharpens up. You may start with “brand the office” and realize the real priority is:
- A showpiece lobby
- Two high-use conference rooms
- A timeline wall in the corridor
- Privacy film and branded glass
- Environmental graphics in employee zones
That kind of focus keeps the investment targeted and useful. The Design-Build Institute of America publishes resources on integrated project delivery that can help teams understand how early fabrication partner involvement reduces costly surprises during site survey and installation phases.
Step 3: Concept design turns brand strategy into a physical experience
Now the project starts to take shape.
The design phase is where messaging, architecture, and material thinking come together. This is not just picking colors and fonts. It is about deciding how the brand shows up in dimensional form.
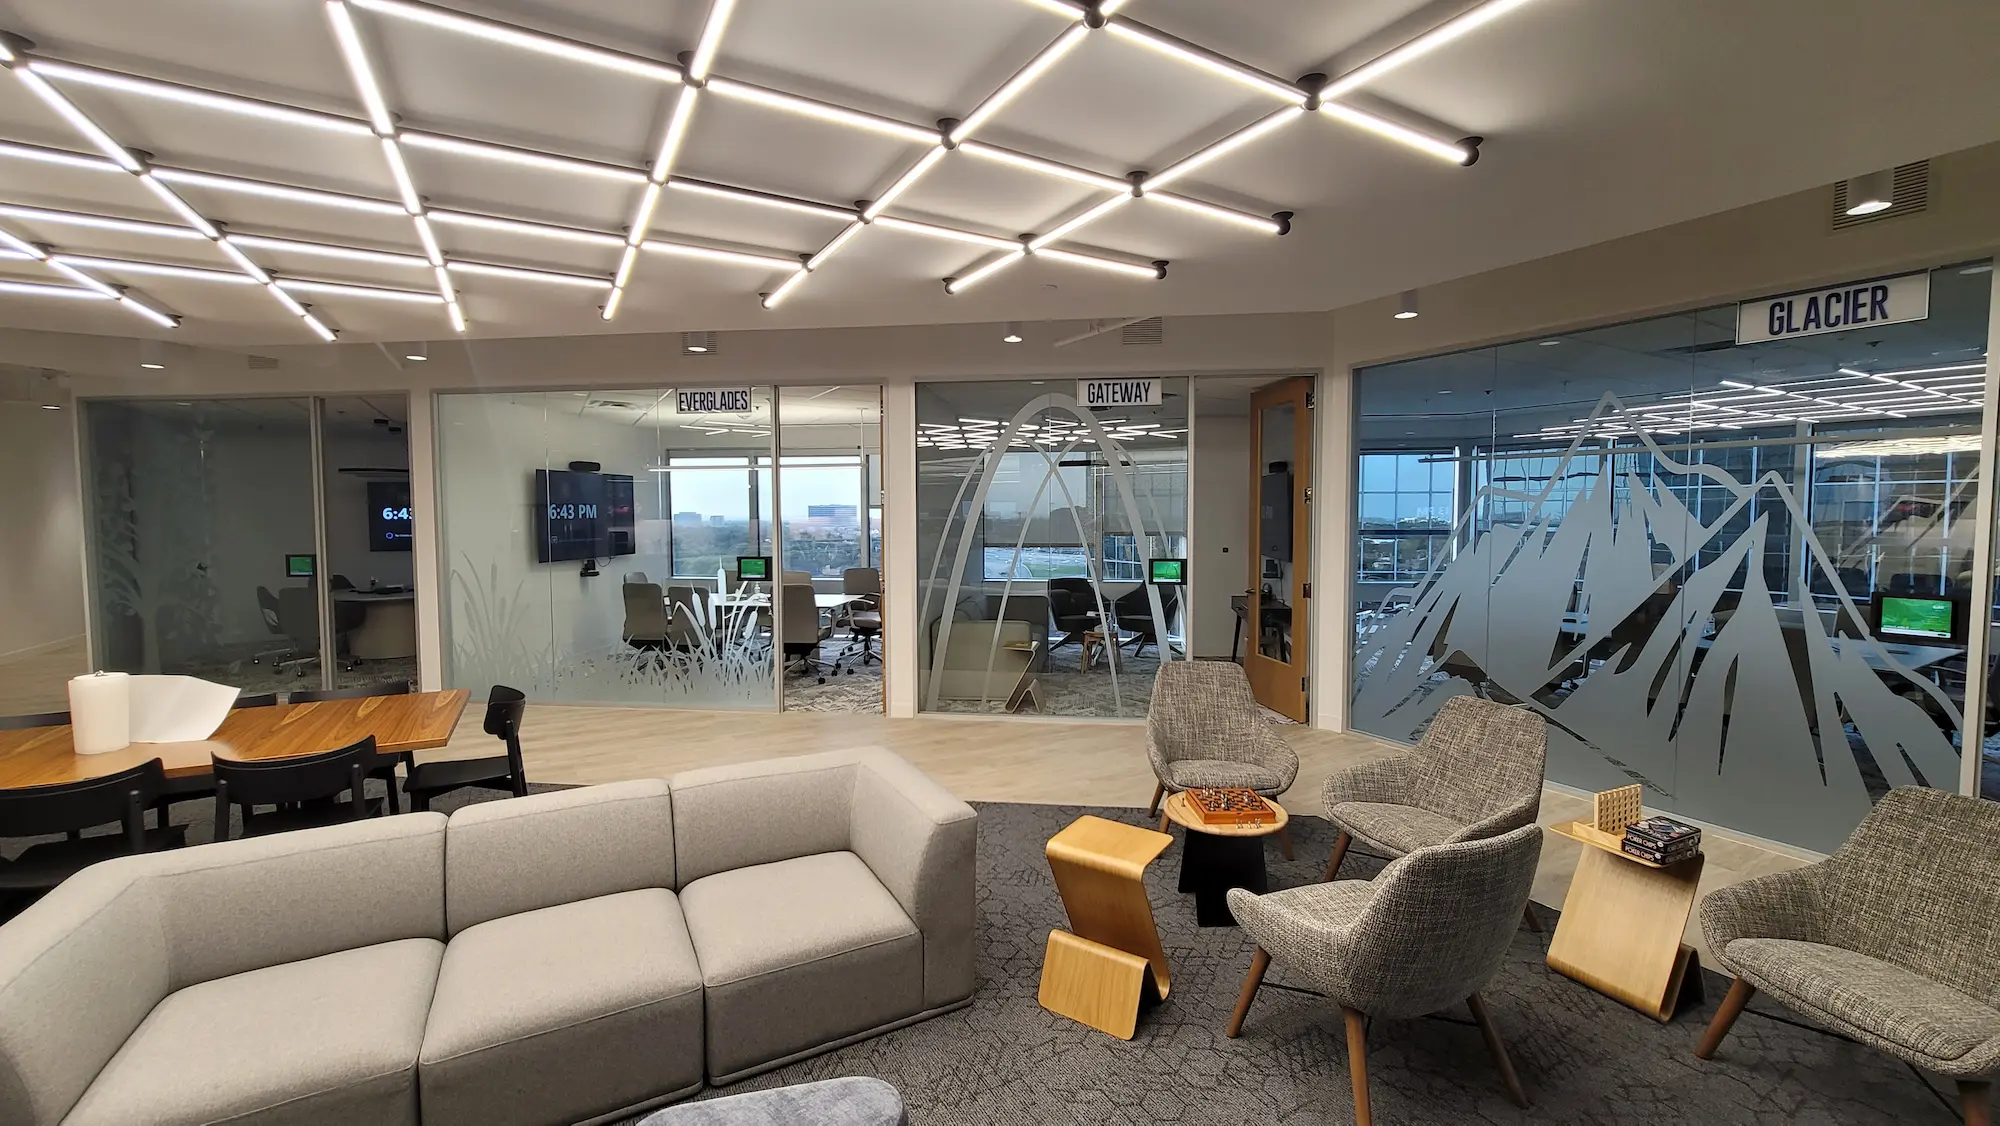
Depending on the scope, that can include elements from across the full interior branding toolkit:
- Logo walls
- Dimensional letter signage
- Layered acrylic or metal elements
- Lobby feature wall design
- Branded glass film
- Branded hallway graphics
- Donor or recognition displays
- Culture wall design
- Product storytelling walls
- Conference room branding
- Custom signage and wayfinding
This is also where tradeoffs happen.
Want a premium finish? Great. That may increase cost or extend lead times. Want the space done before a major event or office reopening? Smart. That may require simplifying materials or reducing custom elements. Want everything to feel custom? Then early approvals matter, because revisions can slow down production.
The best design work does not just look good in mockups. It survives real use, fits the space, and supports the brand long after day one.
Step 4: Engineering and fabrication planning keep surprises off the table
This is the part clients do not always see, but it is where solid projects separate themselves from messy ones.
Once designs are approved, the team moves into production planning. Shop drawings, material specs, mounting details, print methods, finish samples, and sequencing all need to be locked in before fabrication starts.
This is especially important for permanent interiors because these installs often happen in active offices, healthcare environments, campuses, corporate headquarters, or public-facing spaces. There is less room for guesswork.
A few common planning issues that need to be solved early:
- Can the feature be installed without shutting down the area?
- Are there ADA or code considerations?
- Does the wall need reinforcement?
- Are there finish samples that need client signoff?
- Do pieces need to be modular for future updates?
- What happens if branding changes in two years?
This stage protects both timeline and budget.
Step 5: Commercial interior branding fabrication is where the brand becomes real
Once approvals are in, fabrication starts. This can involve printing, routing, painting, finishing, assembly, packaging, and quality checks across multiple components.
For a full interior branding package, you are often producing a mix of materials rather than one single system. That might mean combining:
- Acrylic
- PVC
- Aluminum
- Wood
- Vinyl
- Tension fabric
- Glass film
- Painted dimensional elements
Durability matters here. Interior branding has to hold up to cleaning, sunlight, wear, and day-to-day traffic. A beautiful piece that chips, peels, or dates itself fast is not a win.
Typical production timelines can range from a few weeks for a simpler rollout to several months for larger, multi-space installations. The biggest variables are scope, material lead times, approval speed, and building access.
Step 6: Installation is the final mile, and it has to be tight
Install day is where all the planning gets tested.
A full interior branding install is usually scheduled in phases to minimize disruption. That may mean after-hours work, weekend installs, floor-by-floor sequencing, or coordination with facilities and IT teams.
A smooth installation should account for:
- Protection of existing finishes
- Occupied spaces and employee flow
- Cleanliness and safety
- Final punch items
- On-site adjustments
- Photography after completion
This part matters because even great fabrication can look sloppy if the install is rushed. Alignment, spacing, lighting, edge detail, and clean finishing are what make the project feel premium. The same installation discipline that applies to museum exhibit fabrication applies here: the fabrication team that planned the build should also own the install, because handoff gaps are where projects fall apart.
What does a realistic budget and timeline look like for a commercial interior branding project?
There is no one-size-fits-all number, but here is the honest answer: a complete interior branding project can vary widely based on square footage, material choices, custom fabrication, and number of spaces involved.
A focused project for one lobby and one conference room will naturally cost less than a multi-floor rollout with donor walls, wayfinding, privacy film, and custom branded environments throughout. Timelines can also shift depending on approval cycles and building access.
What matters most is scoping the work correctly from the start. That prevents the two biggest project killers: scope creep and last-minute redesigns.
The real goal is not decoration. It is consistency.
A complete commercial interior branding project should make your space feel intentional. It should help visitors understand who you are. It should help employees feel connected to the brand they represent. And it should work across the whole environment, from the lobby to the conference room and everywhere in between.
When it is done right, interior branding is not just a design upgrade. It becomes part of how your company shows up in the world. That is the difference between filling a wall and building an experience. If you are ready to plan a commercial interior project that works across your full space, connect with the Highway 85 team to start the conversation.